Window Decals

New optionsPrinted in Australia
Take advantage of some of your most visible (and valuable) spaces with window decals. Indoor and outdoor options available. See details
Loading options

Catch their eye and get customers in with custom window decals.

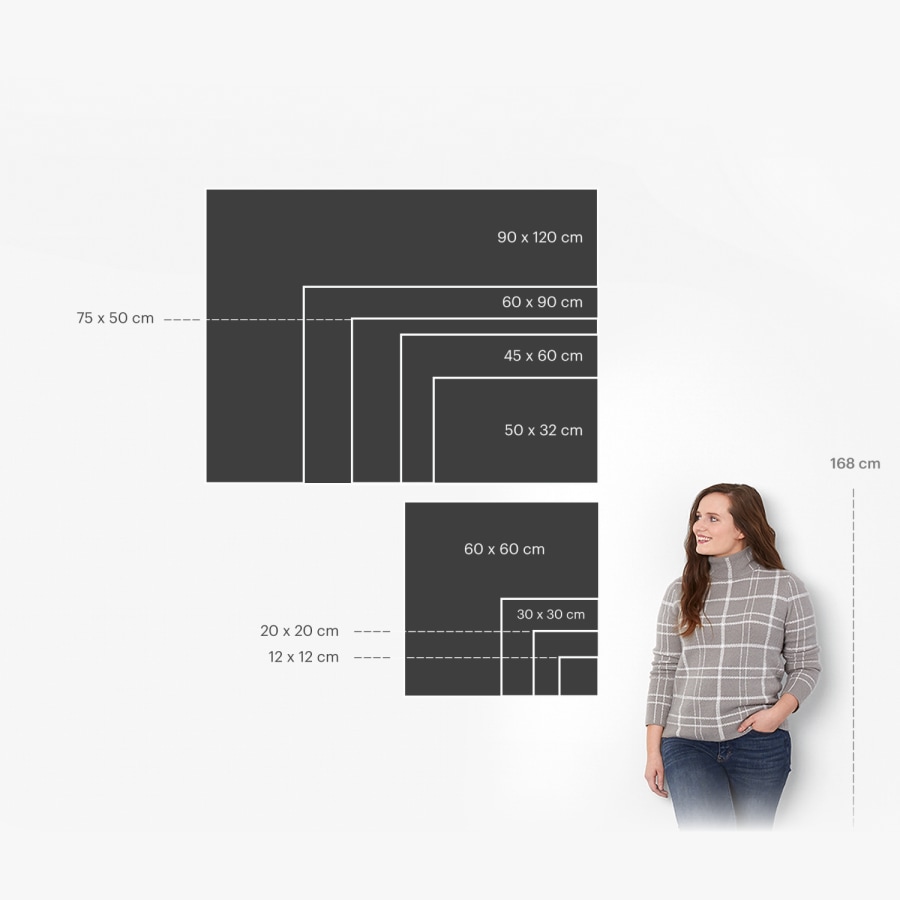
  • 9 size options
  • Clear or opaque backgrounds
  • Inside-glass & outside-glass options
  • Vivid, full-colour printing

Lightweight branding that sticks

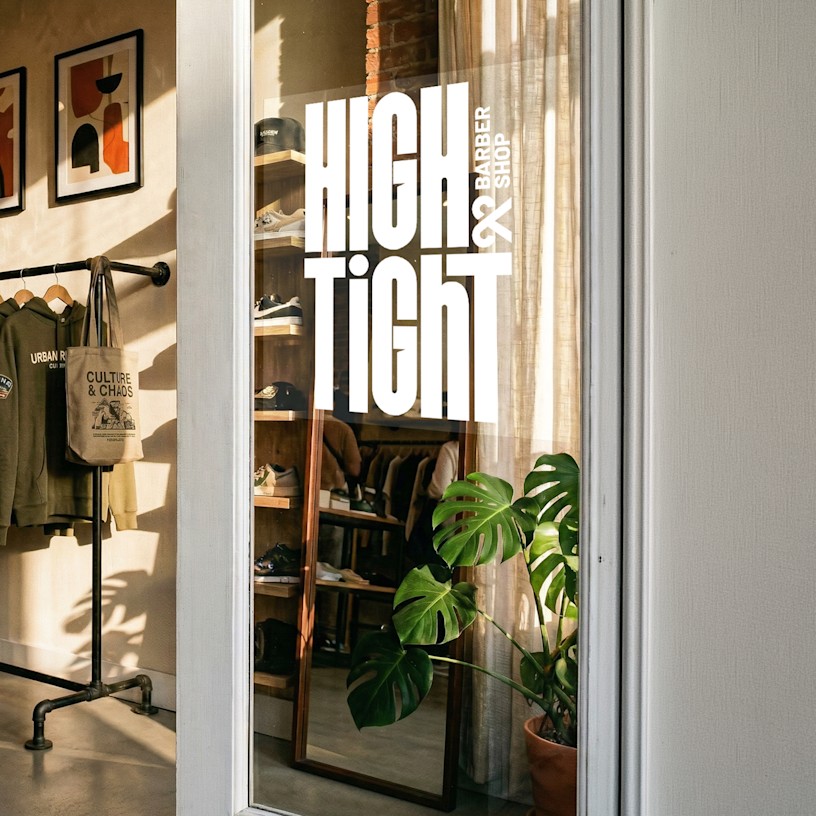
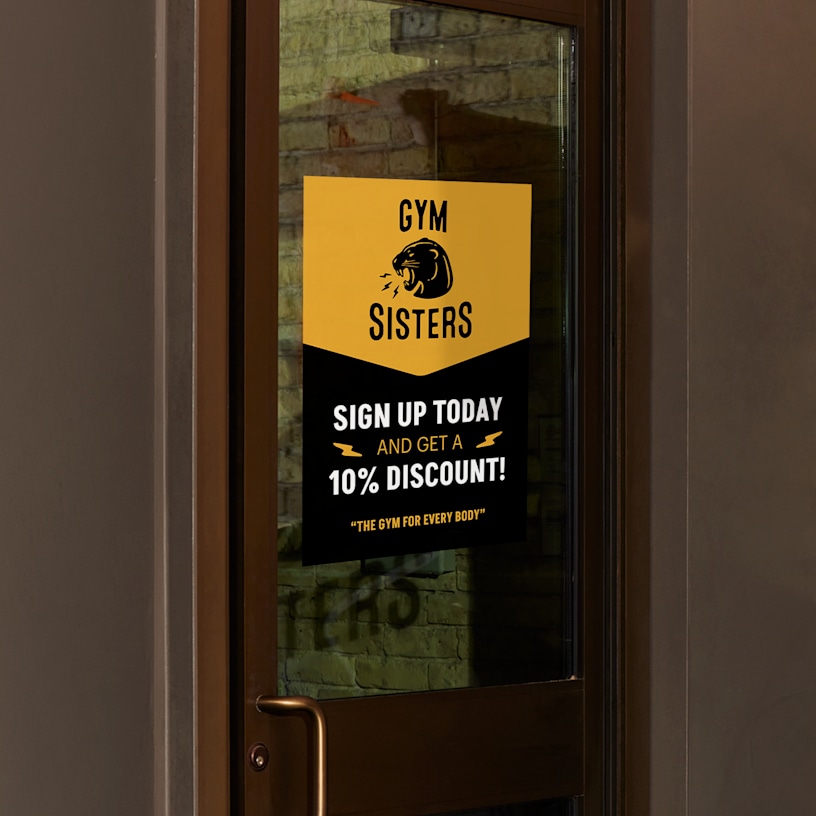
Working in a storefront that features large windows, glass walls or counters? Make the most of that valuable real estate with custom window decals. Lightweight yet eye-catching, they can help you draw in a crowd without breaking a sweat. They’re great for promoting in-store sales, special events or even your business hours. Add your logo, branding and message to our glass stickers and let them do the talking.

Versatile & easy to apply

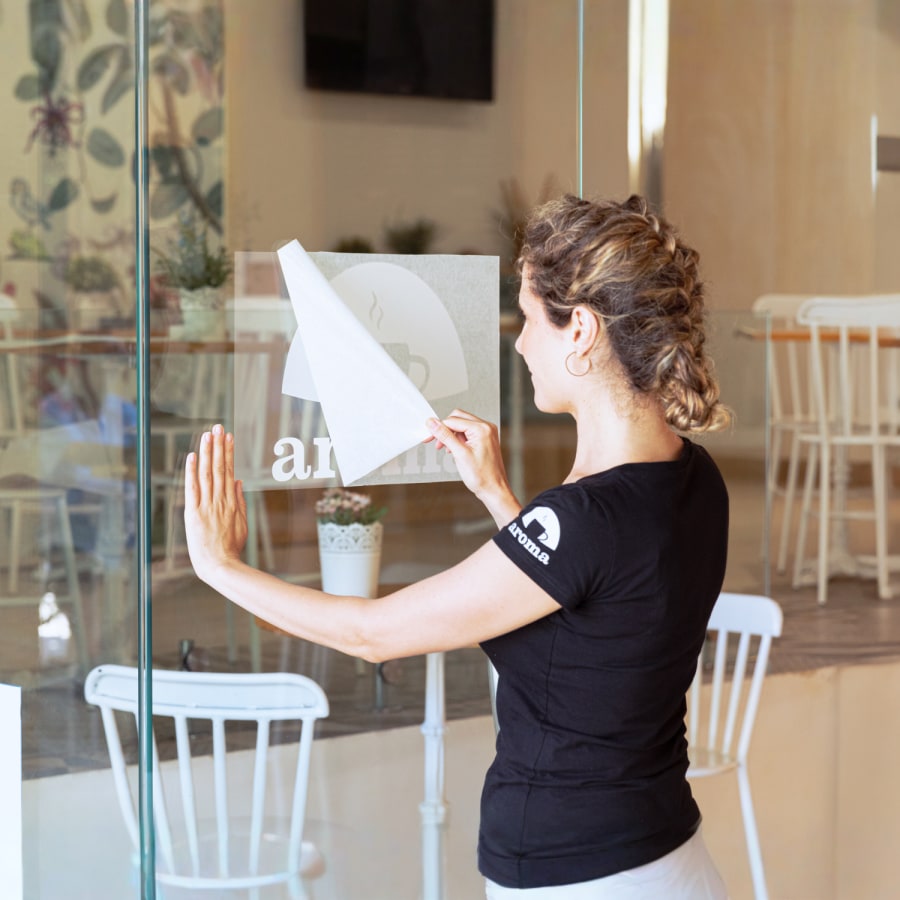
Our custom window stickers can be set up in seconds: Just clean the surface, peel the liner and apply the glass decal carefully. For detailed instructions, please see the FAQs. Not to mention, our window decals come in a variety of sizes and styles for any industry. You can even choose which side of the glass to place your decal on. Our inside-glass option is ready for extreme weather, while the outside-glass option offers extra visibility on tinted windows.

Easy design experience

Ready to create your shop window signage? First, select the options you like best. Next, explore our gallery of fully customisable templates or upload your own design. Once you’ve found a favourite design, make it yours by adding custom details. We’ll take care of the rest, and your vinyl window decals will arrive looking crisp, polished and ready to turn heads.
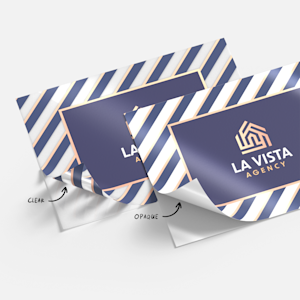
Vistaprint offers Window Decals design templates in assorted styles.
Window Decals

Reviews

(718 reviews)
Filter By
stars
(74%)
stars
(6%)
stars
(4%)
stars
(3%)
star
(13%)

Reviewed by 718 customers

Not happy
20 Aug 2026 | Esther V. |
Verified Buyer
I got some stickers and they were printed to small and when they were Reprinted the next batch came back The Same , I gave up on the end
Response from Vistaprint Customer Care Team:
We regret to hear that the circle stickers were smaller than expected. Our review of the order shows that the smallest size, which is 3 cm x 3 cm, was ordered. For best results, in the future, please review the sizes carefully before designing and ordering. We suggest ordering a bigger size sticker so that your text can show up better. Your design has very small text, which will be hard to read on a small sticker. There are 6 larger sizes that you can choose for the circle shape: www.vistaprint.com.au/labels-stickers/stickers/sheet-stickers. In addition, we suggest that you download the "PDF proof" of your design before completing the order. This is available in the editing studio, in the upper left corner when you click on the product name. When viewed at 100%, it will show you what the document will look like when printed. We have taken action on your account, and a follow-up email with more details will be sent to you. We trust this was helpful to you.

Great
20 Aug 2026 | Natalie G. |
Verified Buyer
Great service and products, fast delivery. Always the reliable go to

Window decals
18 Aug 2026 | Lionel L. |
Verified Buyer
I ordered one transparent and one opaque, and received both opaque instead. I have had some decals ordered elsewhere in the past, and the vistaprint ones were much harder to install
Response from Vistaprint Customer Care Team:
We are sorry to hear that you received two opaque window decals instead of one transparent and one opaque as ordered, and we completely understand how frustrating the installation process can be when it doesn't go smoothly. To help us look into this fulfillment error, please reply directly to this email with photos of the received window decals showing the issues noted. Additionally, to make future applications easier and help you get a smooth, professional finish, we recommend using the “wet application” method: Clean: Make sure your window is clear of dust or particles. Wet: Cover the window with a mix of warm water and washing up liquid. Apply: Peel your decal off the backing before you place it on the window. Smooth: Start from the center of the decal and use a flat edge (like a credit card) to remove any bubbles. Once we receive your reply with the photos, we will gladly investigate this further and work on a resolution for the mix-up with your items. If your request is urgent and you need an immediate solution, please reach out to our Customer Support team via 1800-864-973.

Window decal
14 Aug 2026 | Truth R. |
Verified Buyer
Good quality and print. I found it a little tricky to get the all the bubbles out. This might just be user error.
Response from Vistaprint Customer Care Team:
Thank you for taking the time to leave a review. We are so glad to hear that you are happy with the quality and print of your Window Decal. Applying window graphics can definitely be a bit tricky, so we really appreciate you sharing your experience! To help prevent air bubbles when applying custom window stickers in the future, we recommend using the "wet application method": CLEAN: Make sure your window is completely clear of dust or particles. WET: Cover the window area with a mix of warm water and a drop of washing-up liquid. APPLY: Peel your decal off the backing before placing it onto the wet window. SQUEEGEE: Use a squeegee, ruler, or another object with a hard, flat edge to smooth out the decal. Always start from the centre and work your way out to the edges to push out any trapped air and water. Thank you again for your feedback, and we hope this tip helps with your next application.

Window Decals
14 Aug 2026 | Jodie M. |
Verified Buyer
Fantastic quick service. Received exactly what I ordered

Displaying Reviews 1-5

Work with a designer

Let us design it for you

No more guesswork. We take care of the entire design process, from brainstorming ideas to delivering the files to your account.

Design services banner image
Frequently Asked Questions

  1. CLEAN: Make sure your window is clear of dust or particles.
  2. WET: Cover the window with a mix of warm water and washing-up liquid.
  3. APPLY: Peel your decal off the backing before you place it on the window.
  4. SQUEEGEE: Use a squeegee, ruler or other object with a hard, flat edge to smooth out the decal. Start from the centre and work out to the edges.

Yes. Inside-glass decals are also known as second-surface custom
window decals. Similarly, outside-glass decals are sometimes referred to as
first-surface decals.

We recommend the “wet application method”:

  1. CLEAN: Make sure your window is clear of dust or particles.
  2. WET: Cover the window with a mix of warm water and washing-up liquid.
  3. APPLY: Peel your decal off the backing before you place it on the window.
  4. SQUEEGEE: Use a squeegee, ruler or other object with a hard, flat edge to smooth out the decal. Start from the centre and work out to the edges.

Yes. To reposition your decal, just peel it off the glass and follow the steps outlined in our application guide above.

We don’t recommend applying your window decals to non-glass
surfaces. Our window decals are designed to be used on flat glass surfaces.
You can explore our range of car window decals which are another great
marketing tool that can be applied to your vehicle. Car window decals can
be used to spread your brand message while you’re on the go.

We don’t recommend doing so. While our custom window decals can be
repositioned easily, transporting and storing them for events can lead to
dust and debris, which causes bubbling.

To create a completely clear background, it’s important to ensure there are no artwork components featured within that section. If you add artwork or design elements to the background, the surrounding areas will include white ink – meaning it won’t come out completely clear.